What Do You Mean by Staging Site and why do we need it?
A Staging Site is an exact private replica of your Website, on which you can run tests on… There are many a time when you want to add some feature to your current live site.. but editing a live site is really a bad idea … coz anything may go wrong…, to solve this purpose, staging sites are used … and when you are done with all the editing and really happy with it, then you can make changes to the live site…
How to Create A Staging Site Using WordPress
1) Choose a Host which provide Staging feature…
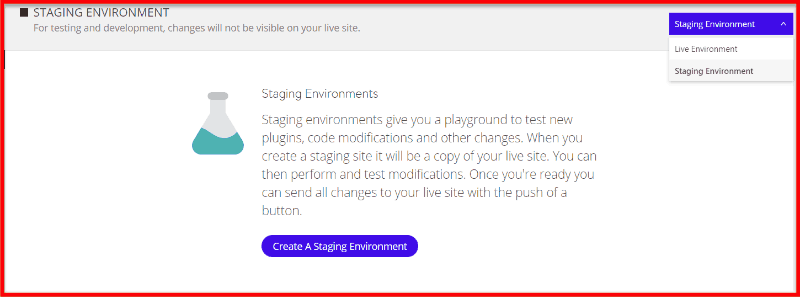
Probably the best solution for creating Staging Site .. is choosing a host which provide staging Facility, the other methods we gonna show can also create a staging site, but they won’t have the same level of functionality, and ease of use… Some of the main features these kinds of hosts provide are:-
==> One-click push: This lets you move the staging version of your site easily to the live server and vice versa.
==> Automatic backups: Some hosts like Kinsta automatically back up your site whenever you make your staging site live to give you more security.
==> SEO-friendly safeguards: Hosts automatically put in place SEO safeguards to prevent any duplicate content issues and keep your staging site private.
Some of the Hosts with Staging features are Kinsta, WP Engine, SiteGround.
If your host doesn’t Provide, staging features, then don’t worry, we have 3 more options by which you can create a staging site.
2) WP Staging Plugin: As the name suggests WP Staging Plugin, Create a Staging Site of your WordPress Site, Well this is a free plugin, but for pushing changes to the main site … you need to pay them… but don’t worry, you can make changes to live site manually, once you test the changes on staging site …
How to Use WP Staging Plugin
:
First of all install the plugin for this … directly goto—> Plugins —-> Add new —-> Search for WP-Staging

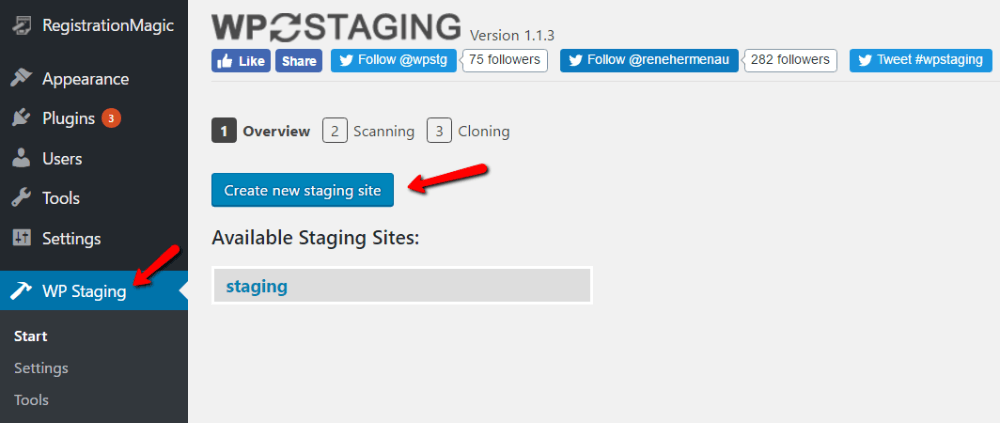
After Installation, Click on WP Staging Tab on the sidebar and Click on Create New Staging Site as shown Below:-
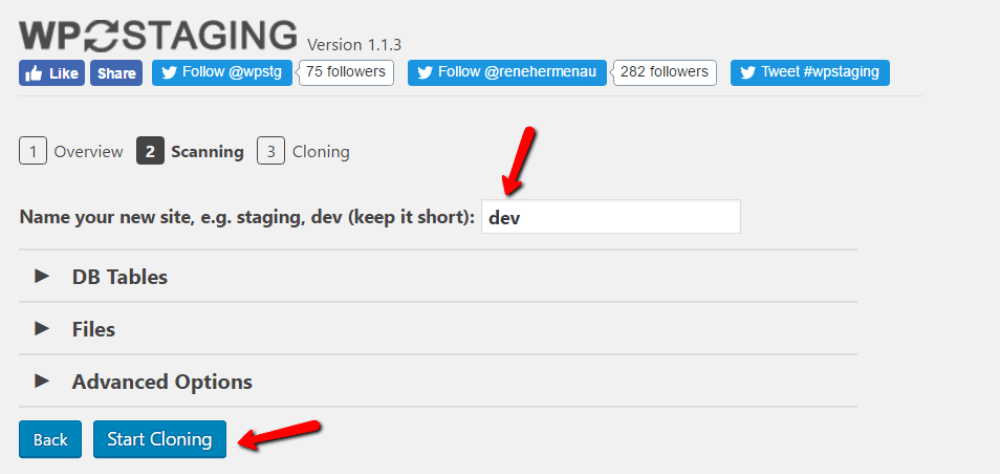
Give your Site a name, Whatever you like, we are giving “dev” site and then click on start cloning
It may a take a while, for creating the staging ( depending upon your website size). Once Done, it will ask to login to your Staging Site, you can access it by using the same WordPress username password. And Once you are done making changes on the staging site (and happy with it), you can then manually make changes to the live site.

3) By Using Duplicator Plugin:- Another WordPress Plugin that can be used to create a Staging Site … Well, the method we will be using here is to download a copy of your website … and then install it on the localhost or some other server, then make changes to it, once we are done with the changes, we then manually make changes to the live site…
So let’s Start the Process: First of all, we need to Download and Install the Plugin, for this … directly go to—> Plugins —-> Add new —-> Search Duplicator

After Installation, Click on the Duplicator tab on the Sidebar, Go to Duplicator → Packages and then click Create New button to build a new package.

It will then prompt for options, just press next and in the end, click on the build. Once it’s done with the build process, you will receive two files; Installer and Archive. Download both files on your desktop.
After this Upload both files on your Server or localhost, after that goto ===> yoursite.com/installer.php (Replace yoursite.com with the actual name of the folder of your localhost or server), setup will start, Click on next button to complete the process

Once the process is completed, check the live the site …if everything uploaded is correct or not …
Note: In Some cases, Site imported via, duplicator plugin, will have all the plugins deactivated, so please activate them by logging in to your dashboard.

Now once, the site is uploaded on Localhost or testing Server, you can now make changes to it … and after you are done making changes to your staging site ..you can then manually make changes to live site.
4) Using All-in-One WP Migration :
Goto Plugins —–> Add New

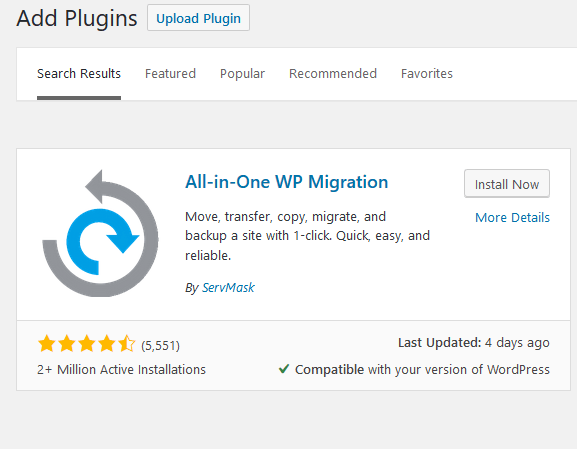
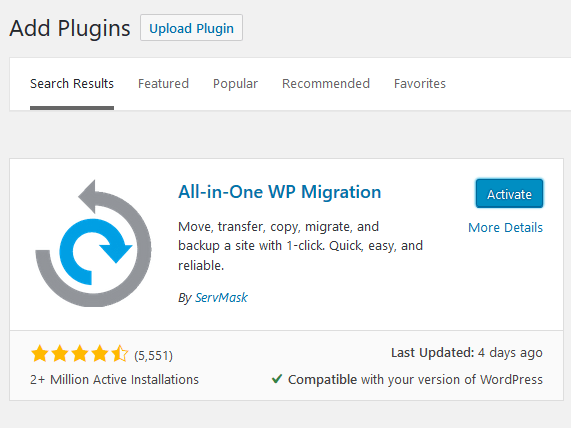
After this Click on Install Now Button to install the Plugin —- > After that Click on Activate button

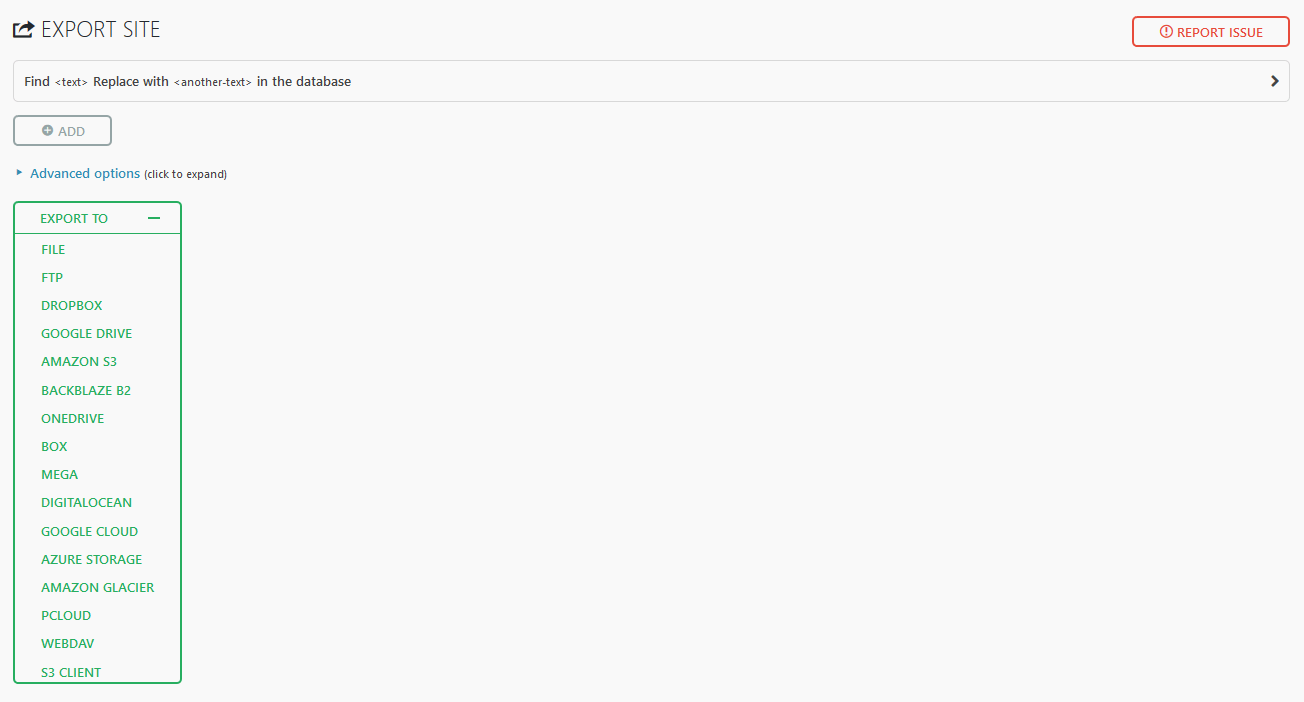
After that Click on Export —-> and choose desired output for the back up —> in our case, we choose export to File
 After that plugin will start the process of exporting
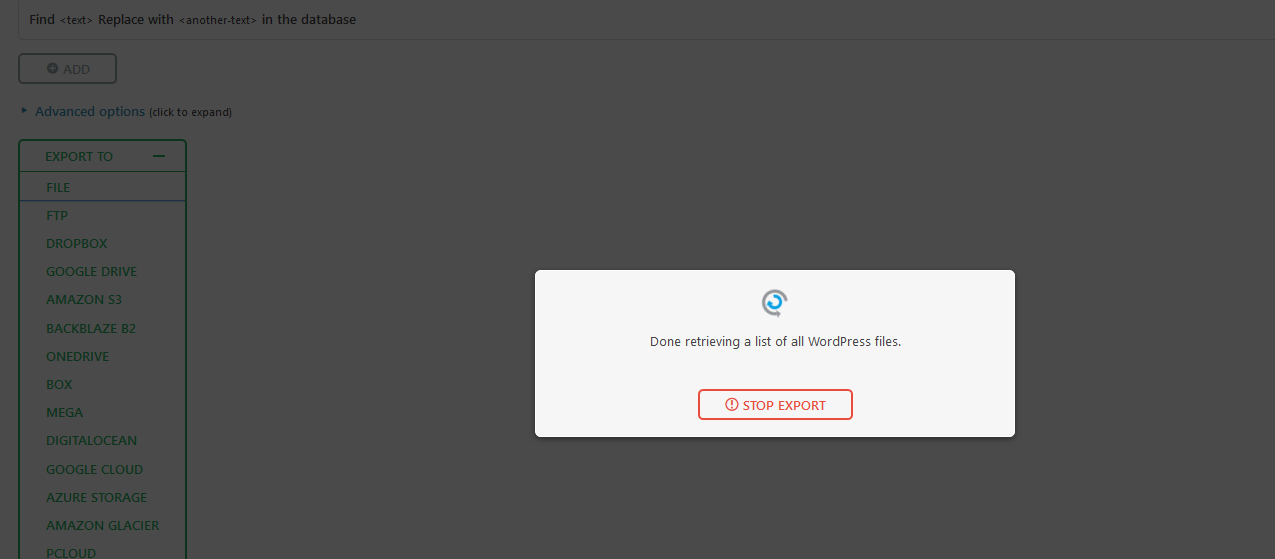
Now Download the file created by the plugin
Its all done
And in Case of importing the above downloaded backup
1 . Simply goto All in one Wp migration page click on Import
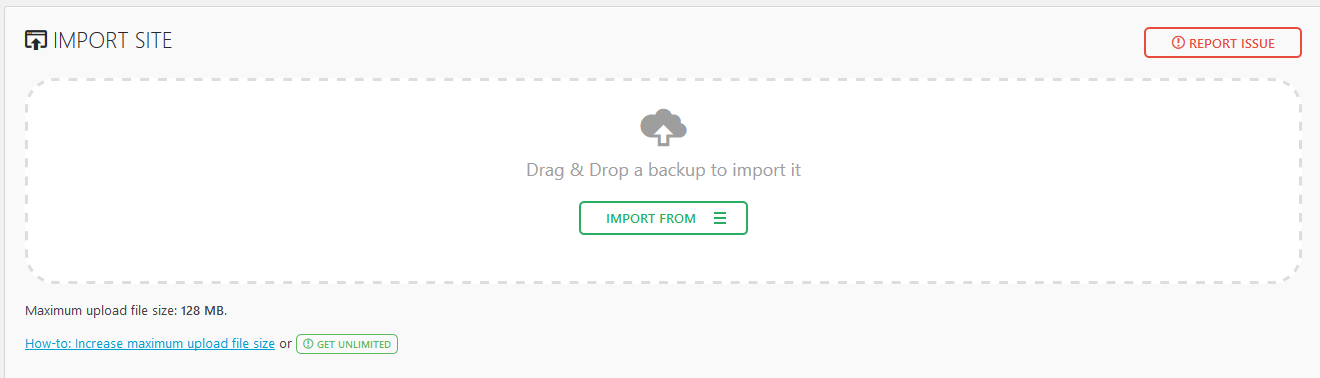
and as you can see in the screenshot simply drag and drop the downloaded backup file … 🙂
Note : Max upload file size in some webservers is limited to 28 mb … you can increase the limit via
1- Adding these lines to theme’s functions.php
@ini_set( 'upload_max_size' , '64M' );

@ini_set( 'post_max_size', '64M');

@ini_set( 'max_execution_time', '300' );
or
2 – Create or Edit an existing PHP.INI file
upload_max_filesize = 64M

post_max_size = 64M

max_execution_time = 300
or
3 – By modifying the .htaccess file in the root directory
php_value upload_max_filesize 64M

php_value post_max_size 64M

php_value max_execution_time 300

php_value max_input_time 300
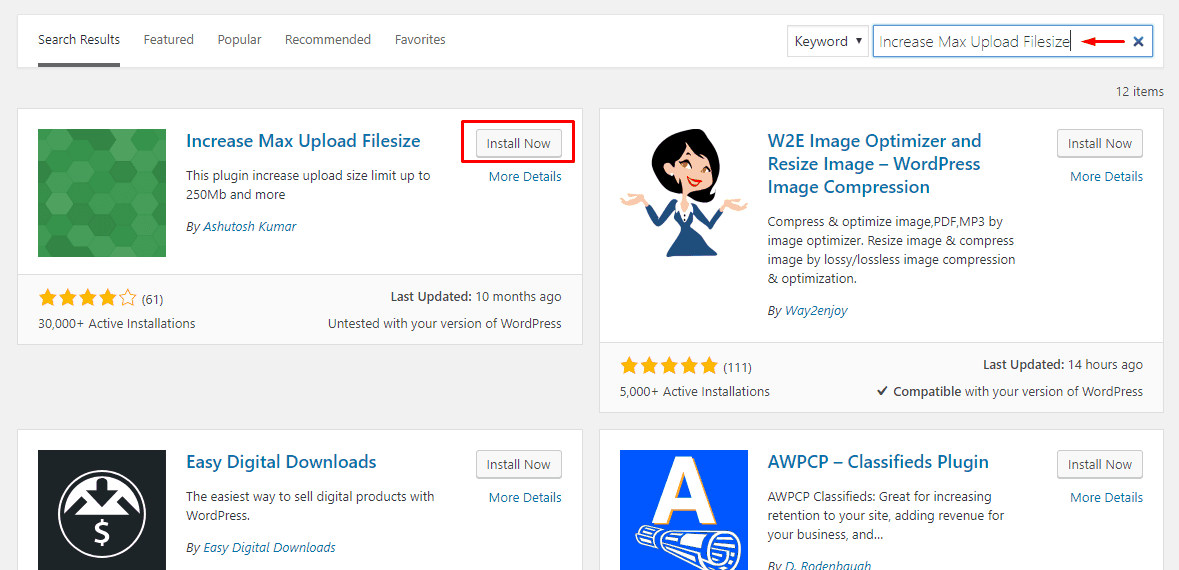
4- Using WordPress plugin
If you don’t want to do it manually, there is always a plugin in the WordPress repository. You just need to find the right plugin that is compatible with your current WordPress version. Try using Increase Upload Max Filesize which is compatible with the latest version of WordPress.
Once done … you can start working on your Staging site … and once you are done with editing, you can then make changes manually to the live site.
So, guys, these are the Some methods by which you can create a Staging Site… Hope you guys liked it, also if we missed something, or you have something to add, do let us know …